Before we begin: You could likely automate this process in a more streamlined way, but for most use cases this workflow should be fine.
I recently covered how to work with git email patches in Evolution on Linux, so I thought it would make sense to walk through a similar workflow for those using Apple Mail on MacOS. The idea is essentially the same, with just a little extra work involved.
Create a "Patches" Mailbox
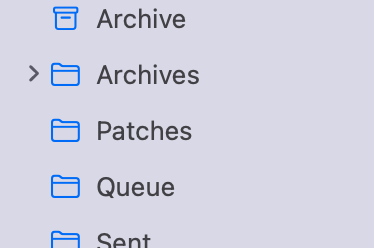
The first thing you'll need to do is make a new Patches mailbox folder inside your existing mail account. Once done, your default Mail sidebar should look similar to the following:
Applying Patches
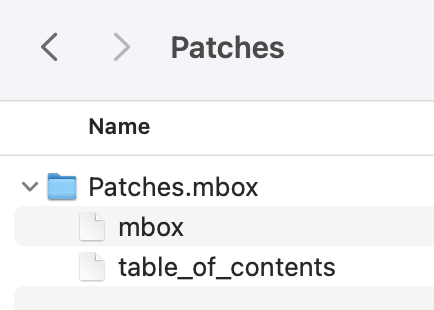
Now navigate to the email message containing a git patch. Right-click and select Move to > Patches. Now in the sidebar, right-click your Patches folder and select Export Mailbox.... You'll be prompted to save this folder locally. I suggest having a top-level folder named Patches to make things consistent.
Inside this folder you should see something similar to the following structure:
Once saved, open your terminal, navigate to the project you wish to apply this new patch to:
cd my-path/very-cool-project
and then run:
git apply ~/Patches/<saved-patches-mailbox-folder>/mbox
Congrats! You've successfully applied a git email patch through Apple Mail! Well, kind of. The terminal did most of the real work. Just be sure to periodically purge your local Patches folder to keep things clean!